Det här är en dokumentation av ett kistbygge som var med i A&S tävlingen på Vinterspelen 2008. Dokumentationen är på engelska.
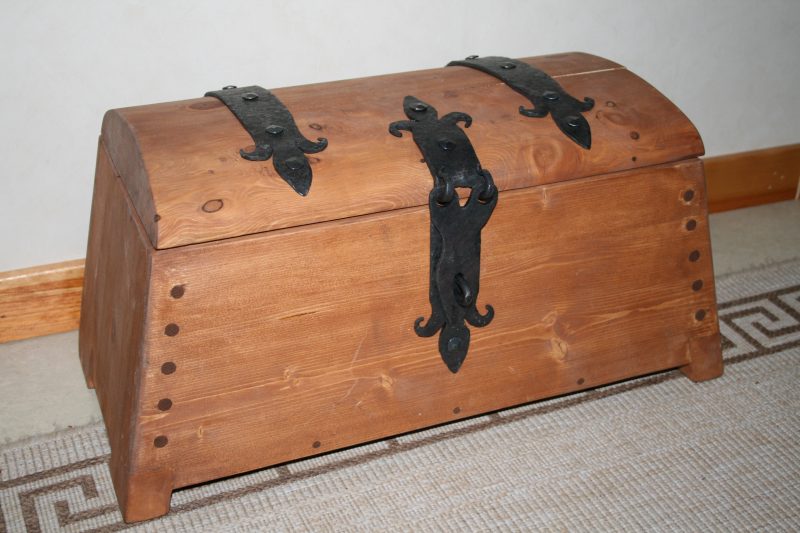
Documenation of ”Egils Chest”
I have built several chests in different materials, but none has been that though trough!
Before I started with this one, I checked a lot on how the “mästermyr chest” was constructed and why. My chest does not hold the measures of the original chest in any way, it holds the measures I needed for my chest! The mästermyr was designed to hold heavy objects and tools for blacksmithing and things like that; my chest is constructed to hold my and my lady’s feast gear.
I have chosen to work in different measures all trough this chest, my earlier chest has always felt a little bit flat as everything is even cut.. My idea was to have to really rigid end peaces, to give the chest a stubborn look, but I kept the bottom and side pieces really thin to keep the weight down. The chest is done in pinewood as it’s a cheap material and relatively easy to work in.
First off, I made the chest in bits of paper, to see that it would actually fit on the planks I had at my disposal. I had to glue together the sides and the lid to make it as wide as I wanted to. Its hard to find that wide planks if you don’t cut down the tree yourself!
When all paper pieces where done(expect the bottom) I made sawed out the pieces with a band saw(cheater I know! But I needed to save time) the pieces where then carefully polished with sandpaper to get the best fit I could get. I glued the sides and end pieces together to more easily be able to measure the bottom piece.
The bottom piece was carefully polished with machine to fit exactly into the bottom hole, as all sides lean inwards, I had to be careful if I was to make the bottom piece to fit exactly.
The lid was hand planed in rough, then I used band polisher to do the last finish (again, to save time This is one detail the Mästermyrchest also has, the solid lid that are taken out to cut weight and get more space inside the chest.
All plugs where hand carved from Teak because Teak I wanted the plugs to be visible, but also because teak is easy to work in and the material itself is “slippery” when you carve in it.. The howl chest will get Teak-stain and that will make the plugs disappear a little bit more than from the start.


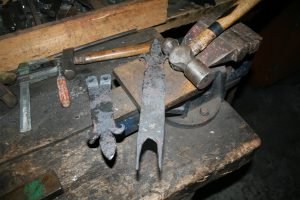
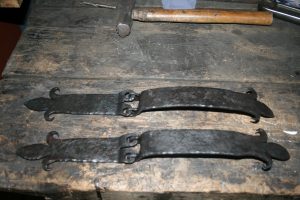
The hinges on this chest took about 11 hours to forge in a warm forge. I used pretty thick material for this ones, I thought it gave the chest a more ridgid look. There are also 3 pieces of metal on the front, one hinge and a backplate so you can have a lock on your chest if you wish.
As you can see on the picture to the right, I made an own design of the single loop hinges found on Viking chests(and probably on the Mästermyr too, but that part are broken, but could probably fit such a design). The double loop design made it kind of hard to fit the.
As you can see, my hinges has designs from later chests with French lilies at top and bottom, mästermyr had no such thing. I have chosen to have a more luxurious look on my chest simply because it’s made to carry my feast gear, not my tools.
For the final assembly, I used pre-made nails to save some time. All Nails where cut goes straight trough and are worked with a rounded hammer so they get a head on the inside too. When putting the hinges on the lid, it beaked into its two originally pieces, but the pieces are firmly attached to each other with the firm material in the hinges, so they still hold together as they should.
I hope you like my work!
BaronEgil Drakhufvud(OP), Squire to Sir Brendan the Tired